Dive Sites of Blue Palms Rota
East Area West Area Seasonal Calendar
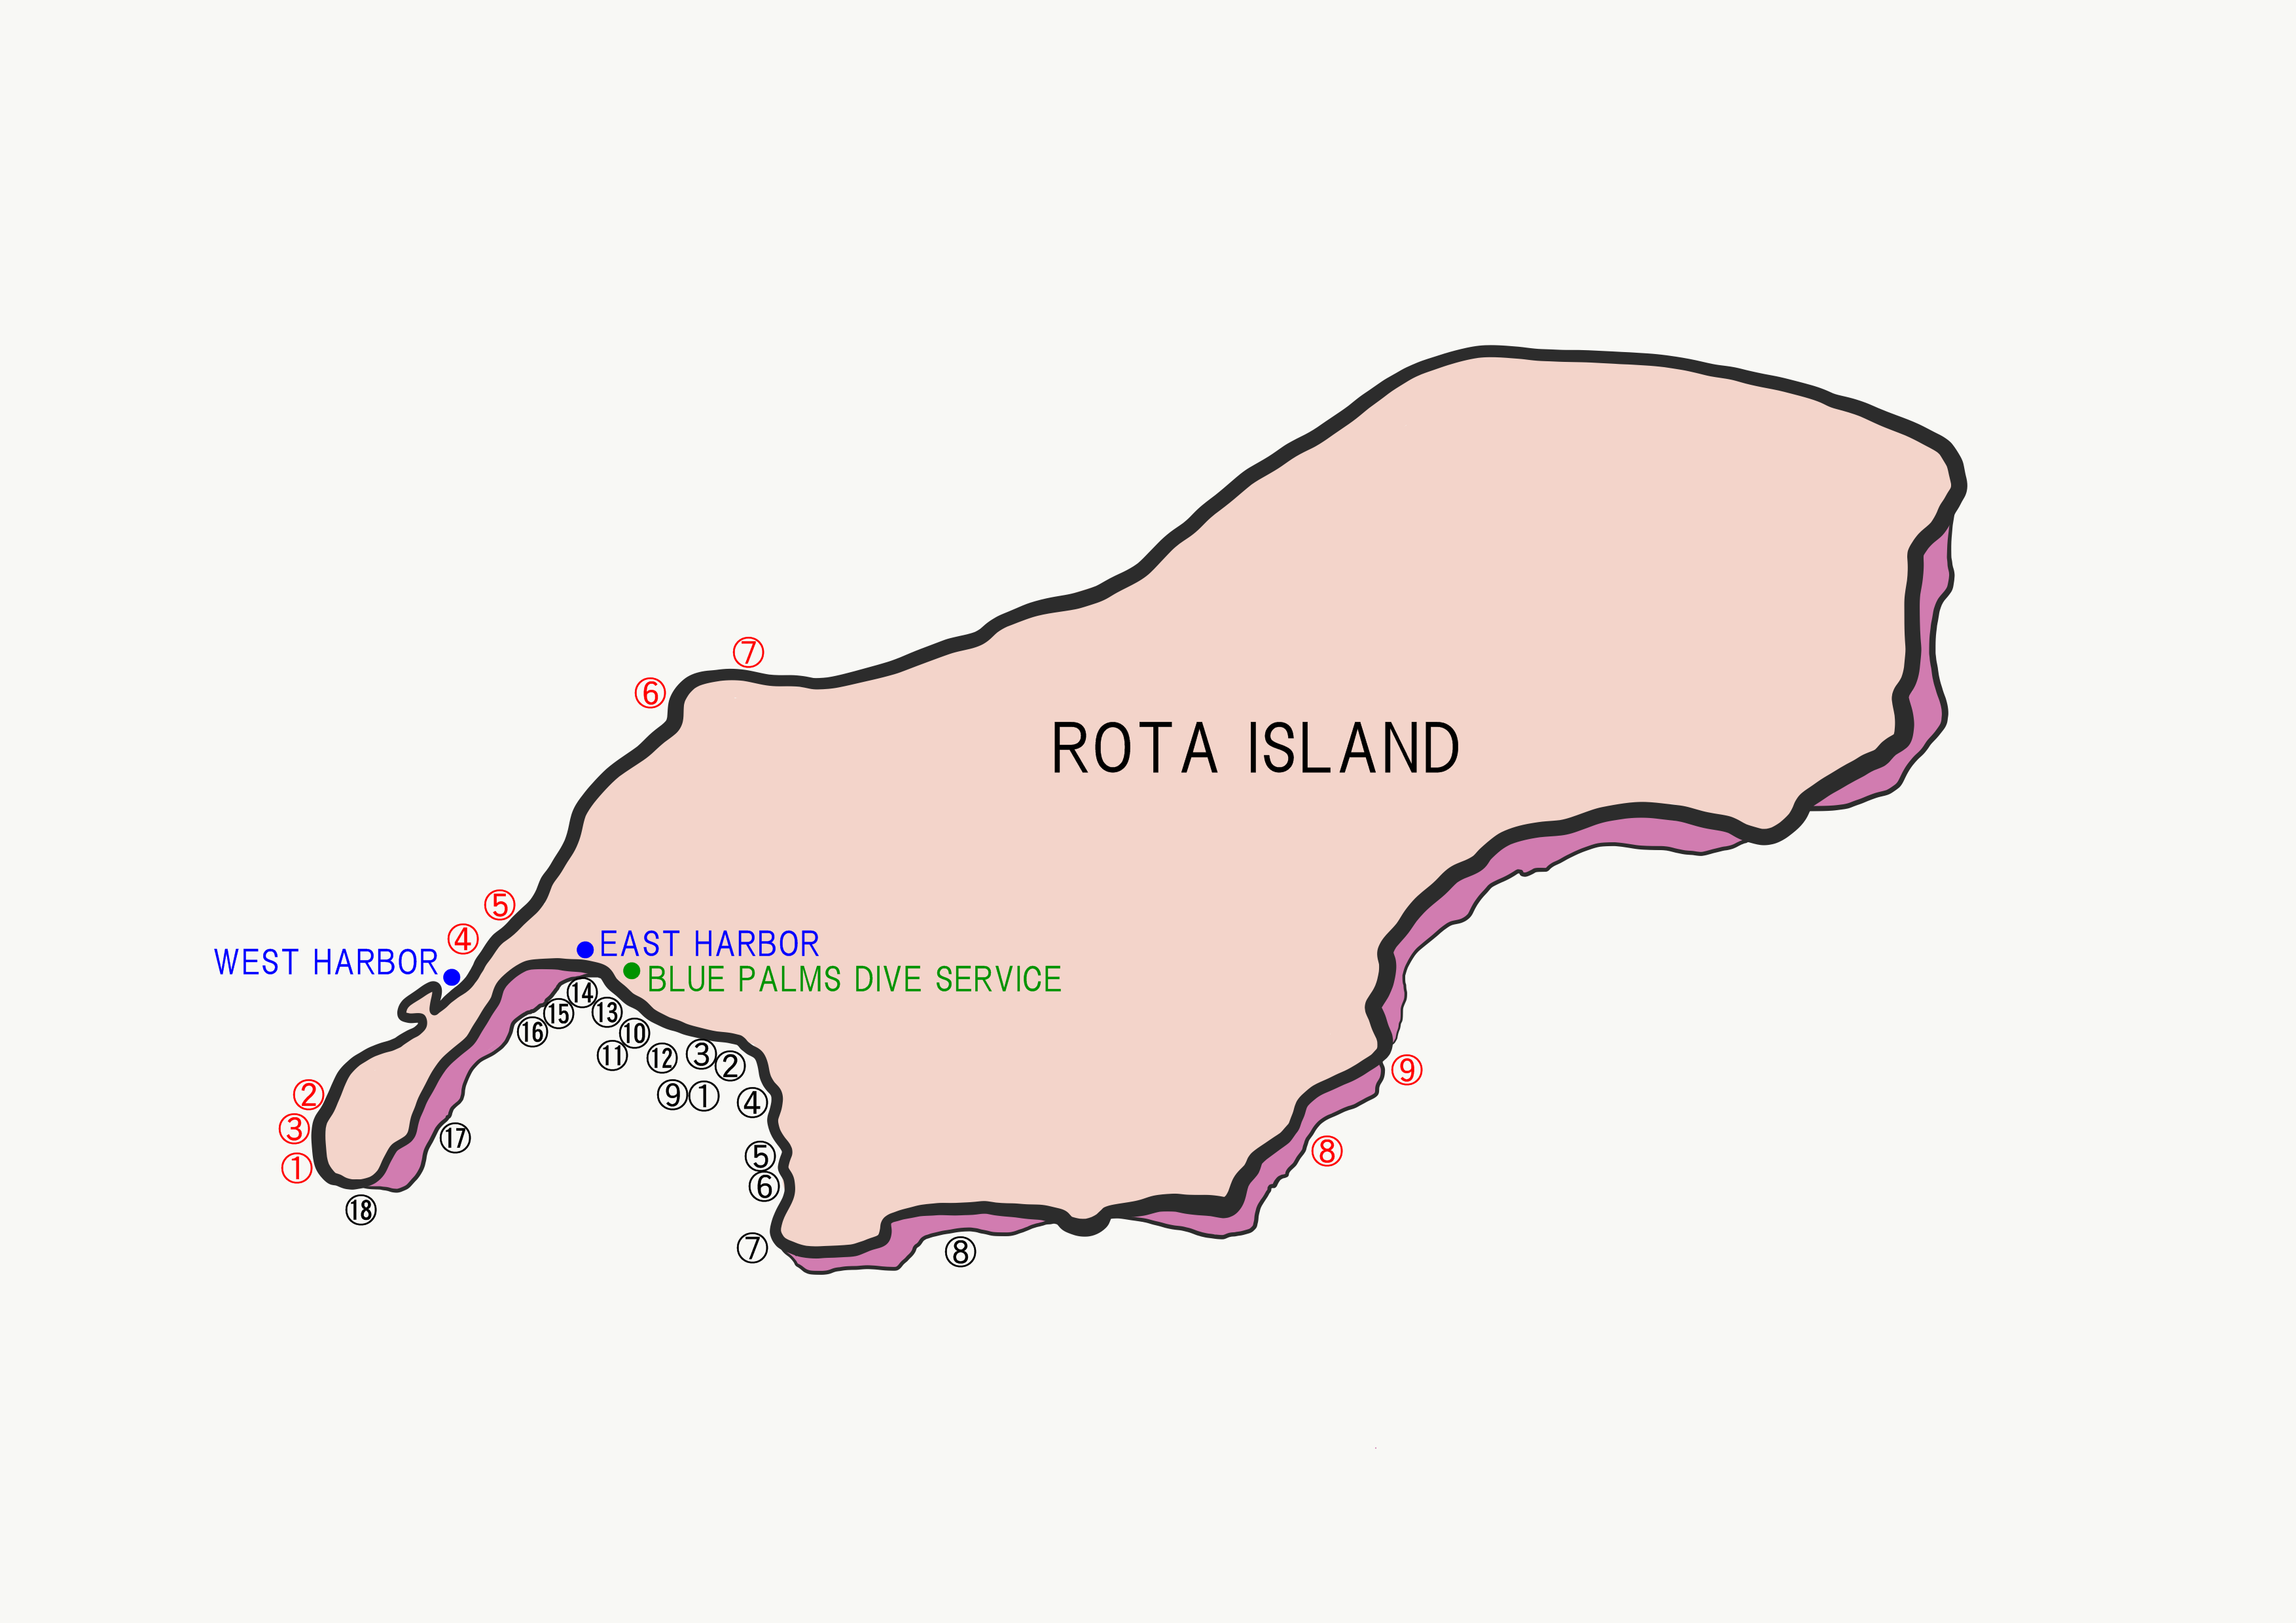
Rota’s diving spots are accessible from both the East and West harbors.
We decide on the day’s dive sites based on our guests’ requests and current sea conditions.
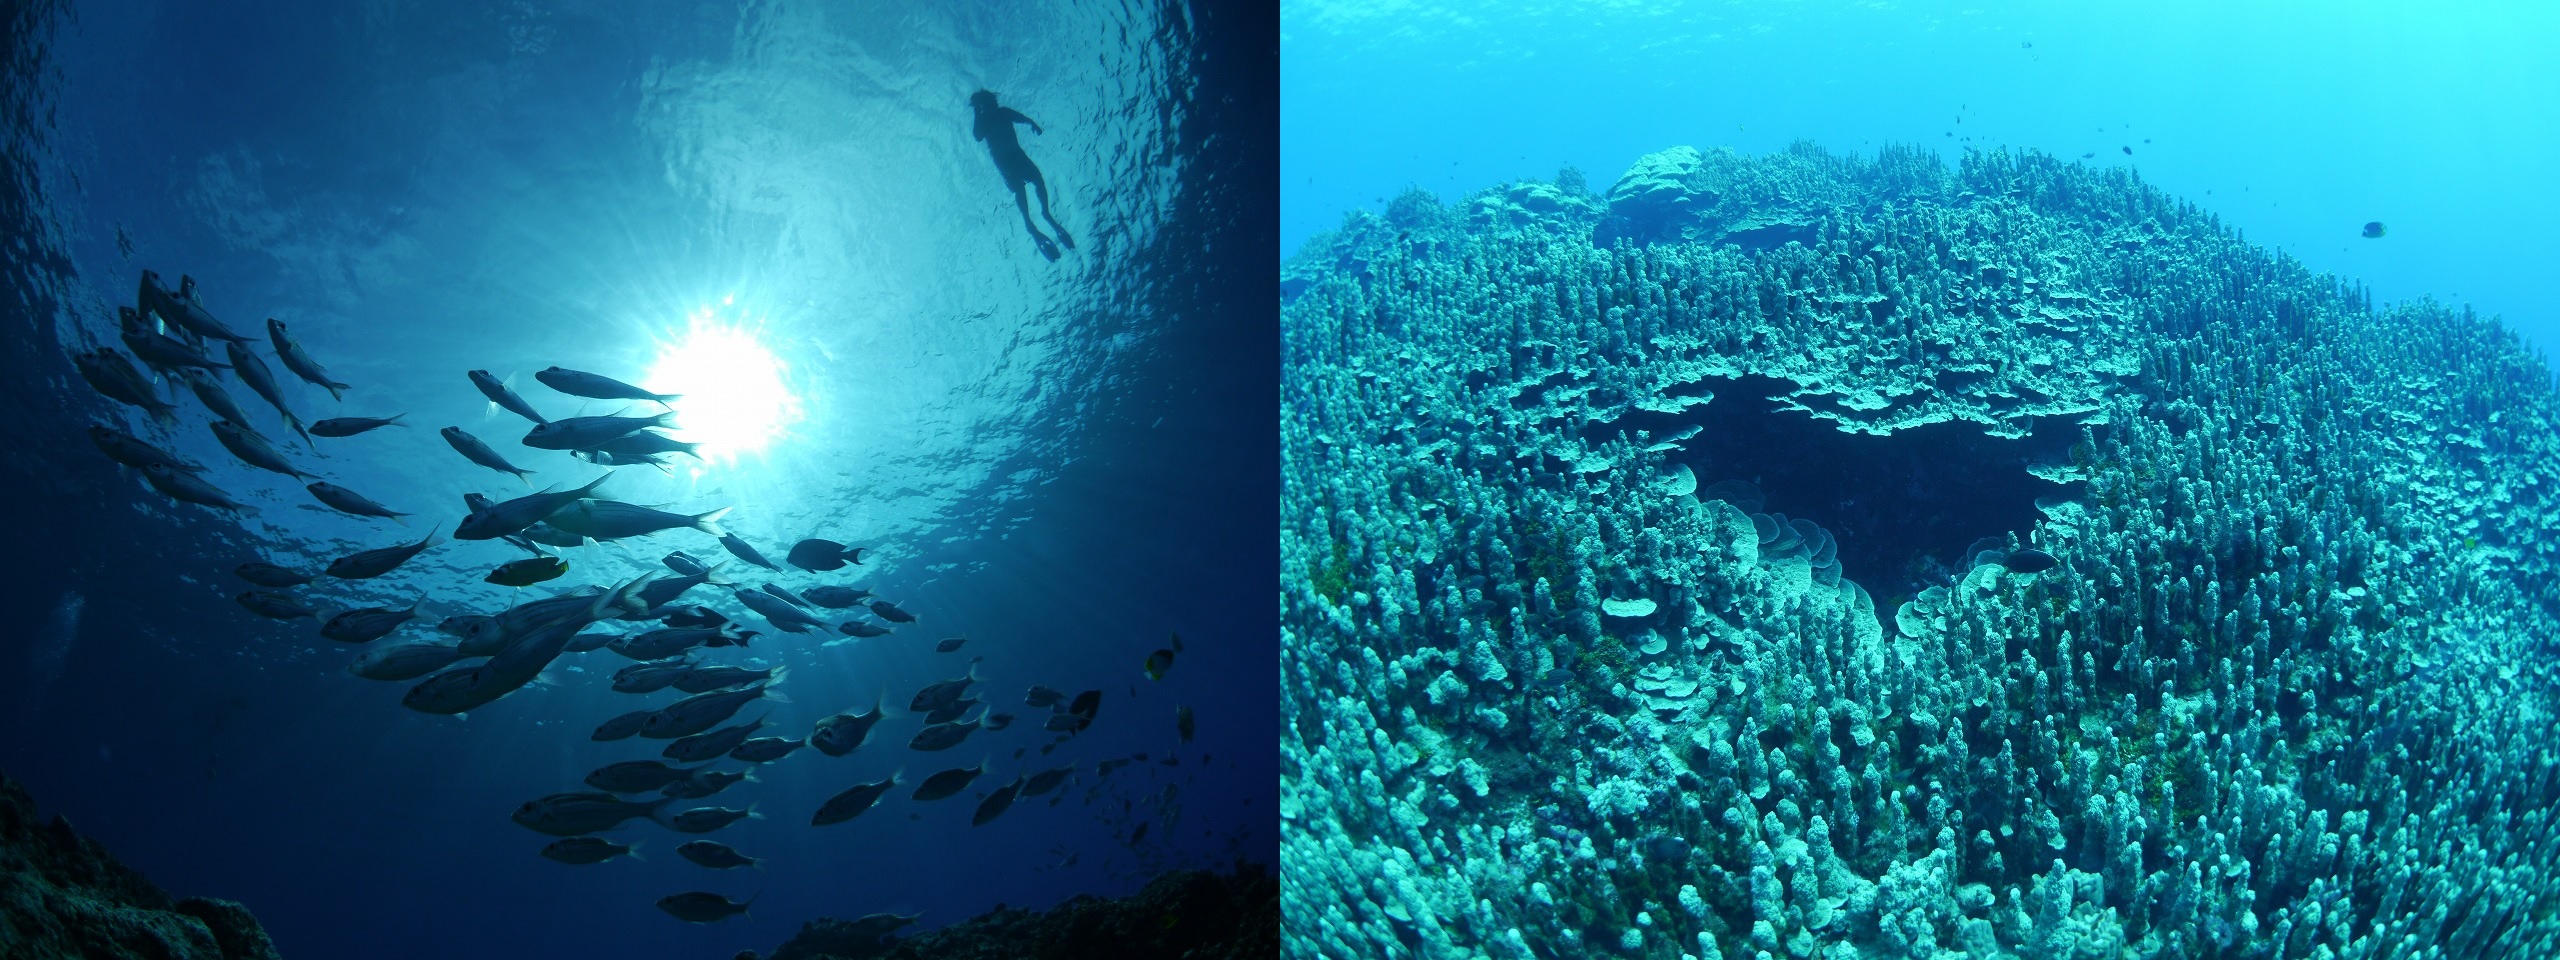
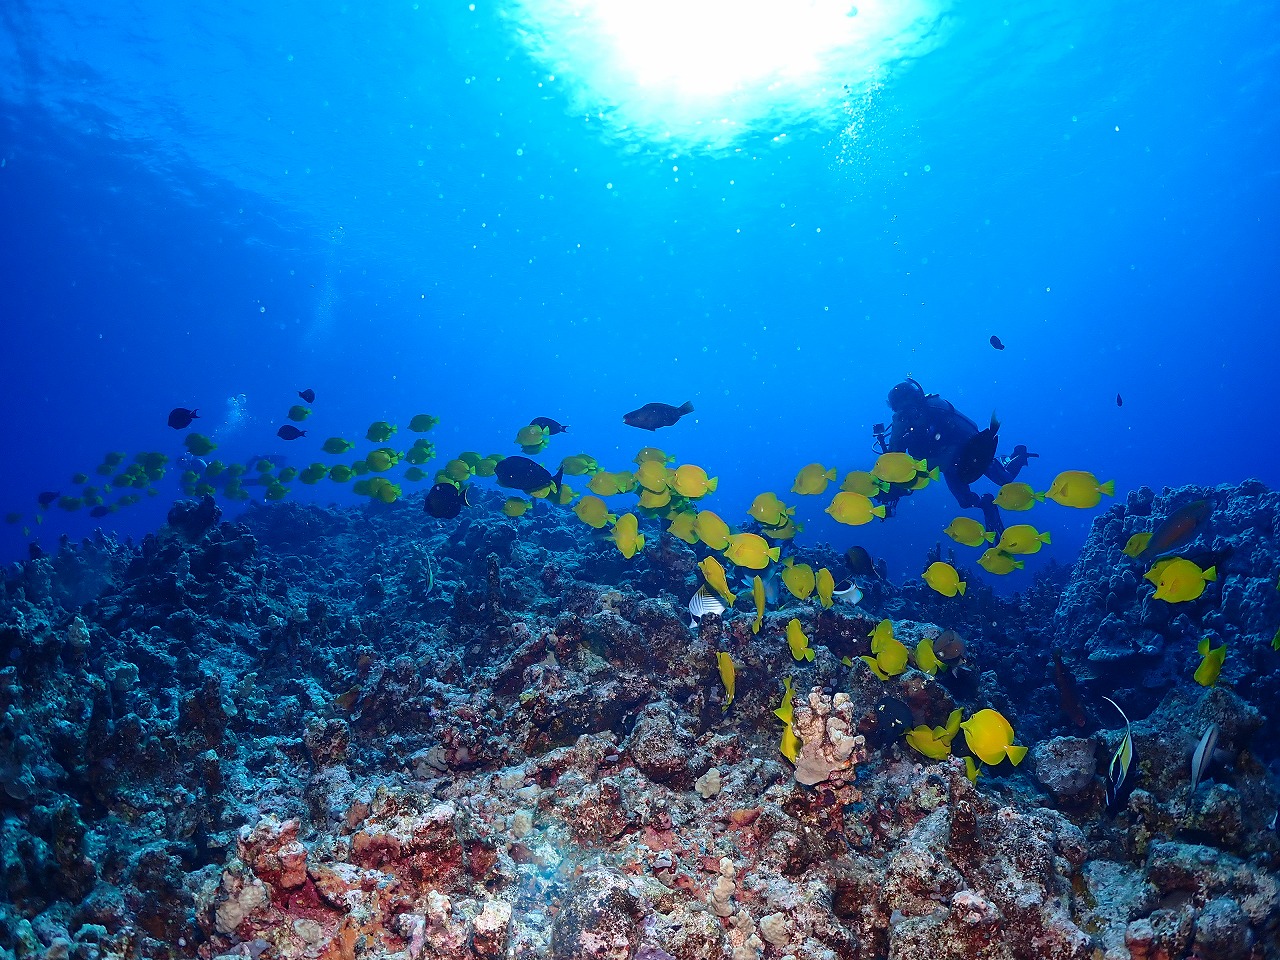
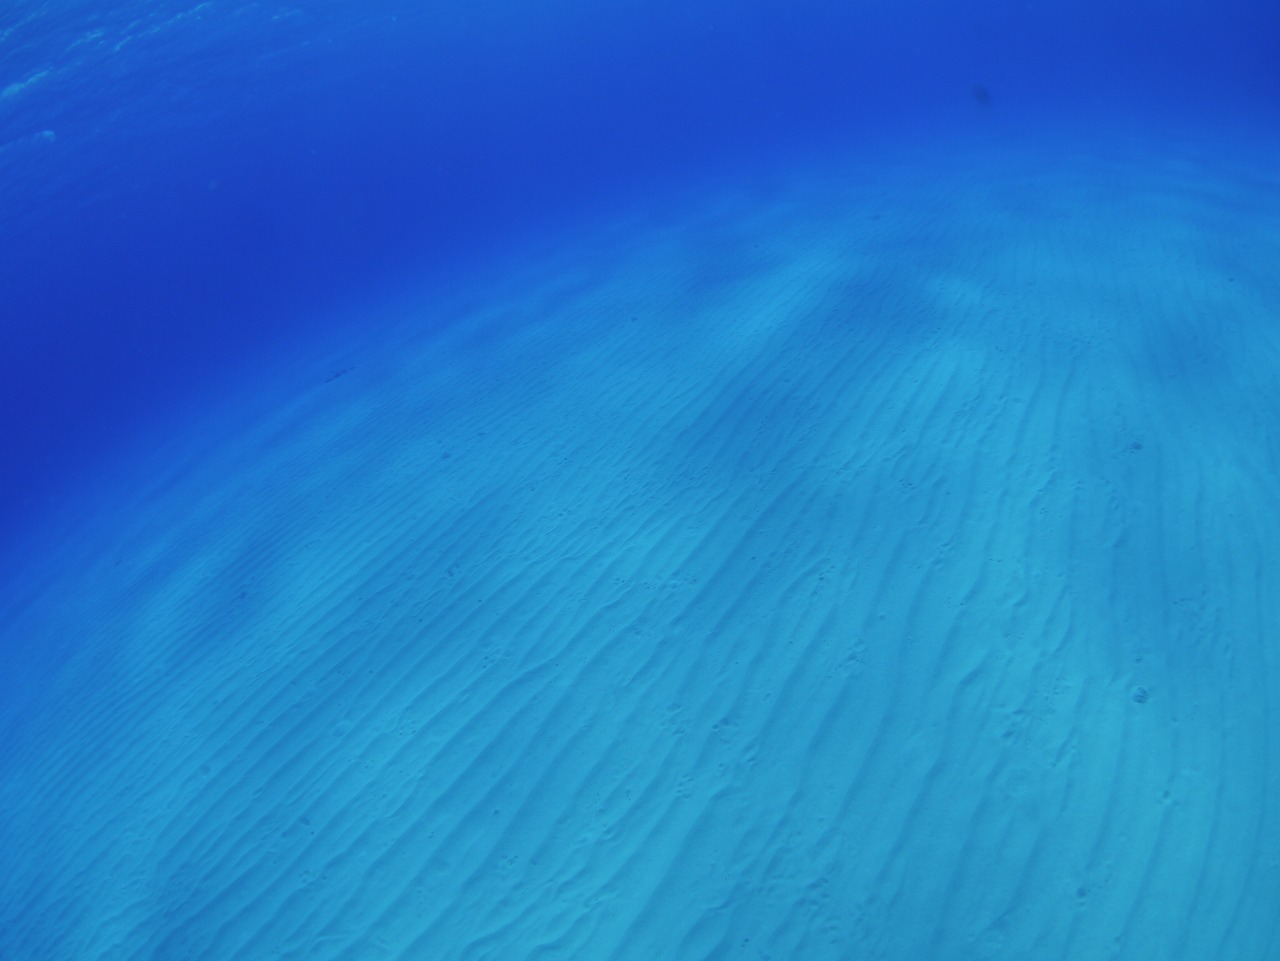
Beyond the world-famous “Rota Hole,” the island offers a diverse range of underwater adventures: giant shipwrecks, vast underwater deserts, dynamic drop-offs, and relaxing coral gardens teeming with fish.
You can experience an incredible variety of diving all around this single island.
★ East Area
① Shoun Maru
Difficulty: ☆☆
Type: Wreck
Max Depth: 33m
Current: Can be very strong
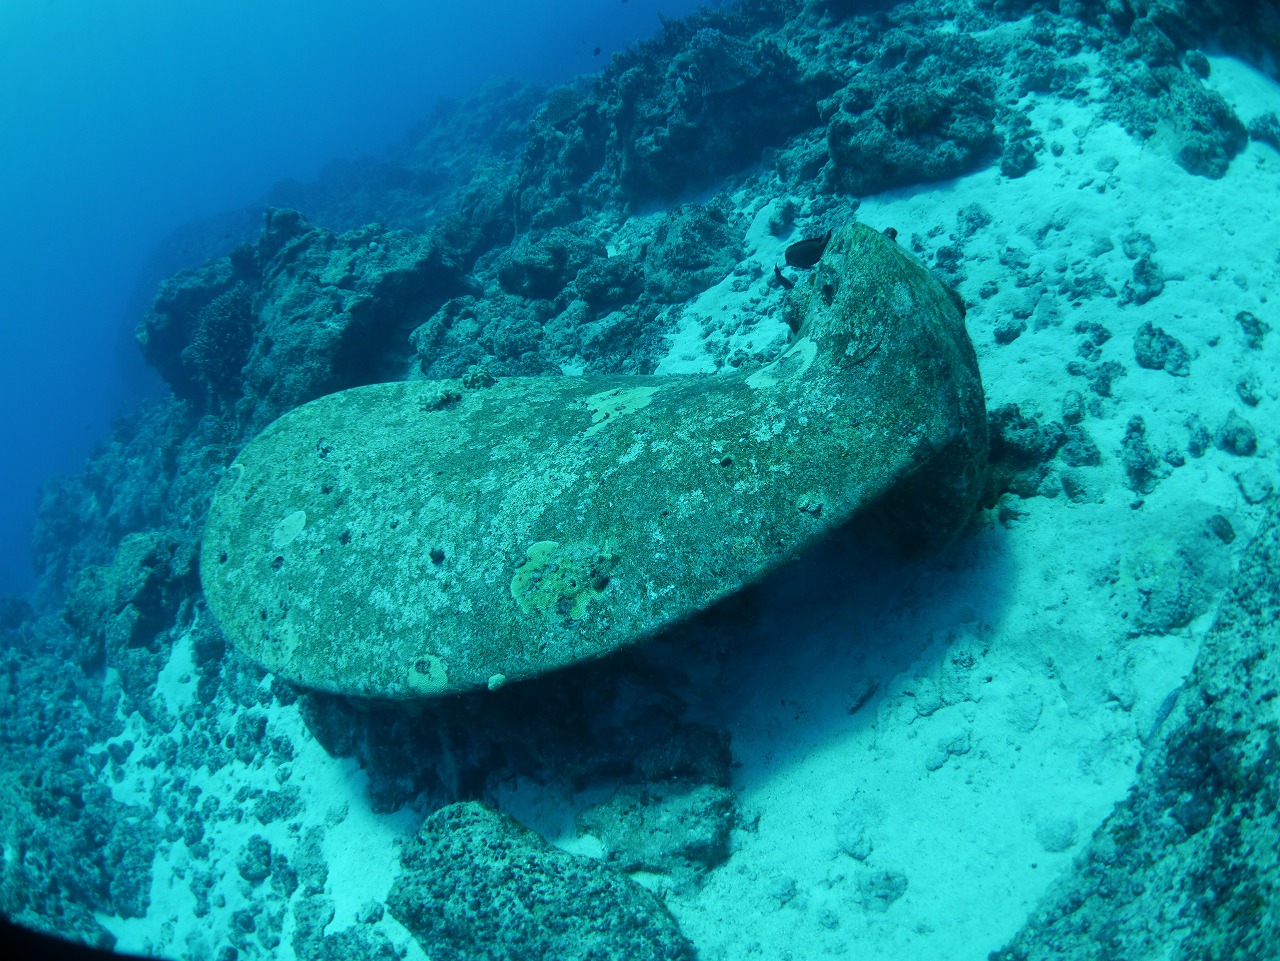
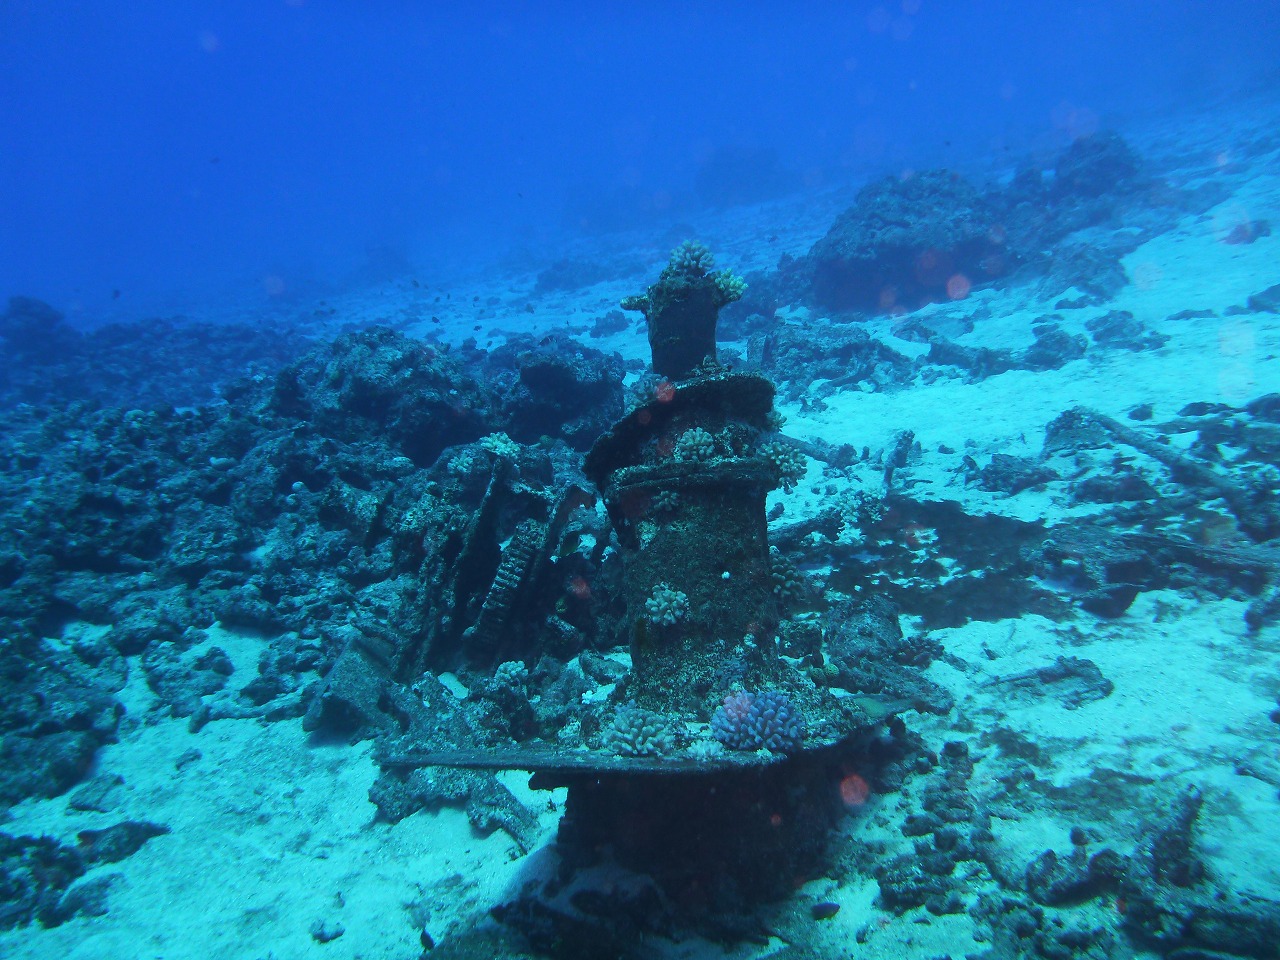
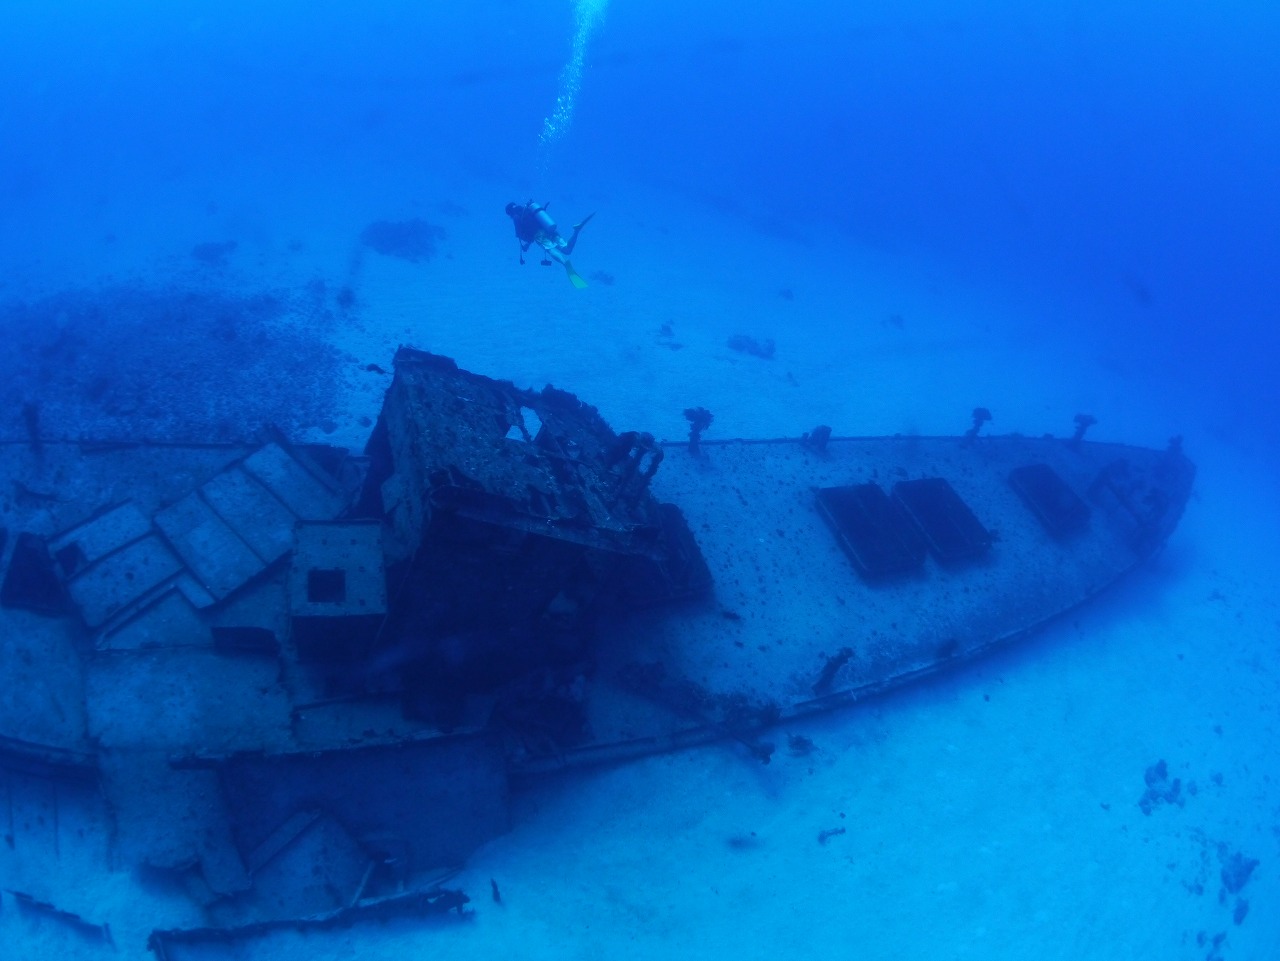
A massive Japanese freighter over 100m long that sank in 1944.
While accessible year-round, currents can be intense during spring tides. This is a deep dive, so please monitor your air consumption closely.

② Fireworks
Difficulty: ☆
Type: Sand / Coral / Reef / Fish
Max Depth: 20m
Current: Occasionally moderate
③ Cable Run
Difficulty: ☆☆
Type: Sand / Coral / Macro
Max Depth: 20m
Current: Minimal
④ Sub Chaser
Difficulty: ☆
Type: Wreck / Fish / Macro
Max Depth: 28m
Current: Minimal
⑤ Coral Garden
Difficulty: ☆
Type: Coral / Fish / Macro
Max Depth: 25m
Current: Occasionally moderate
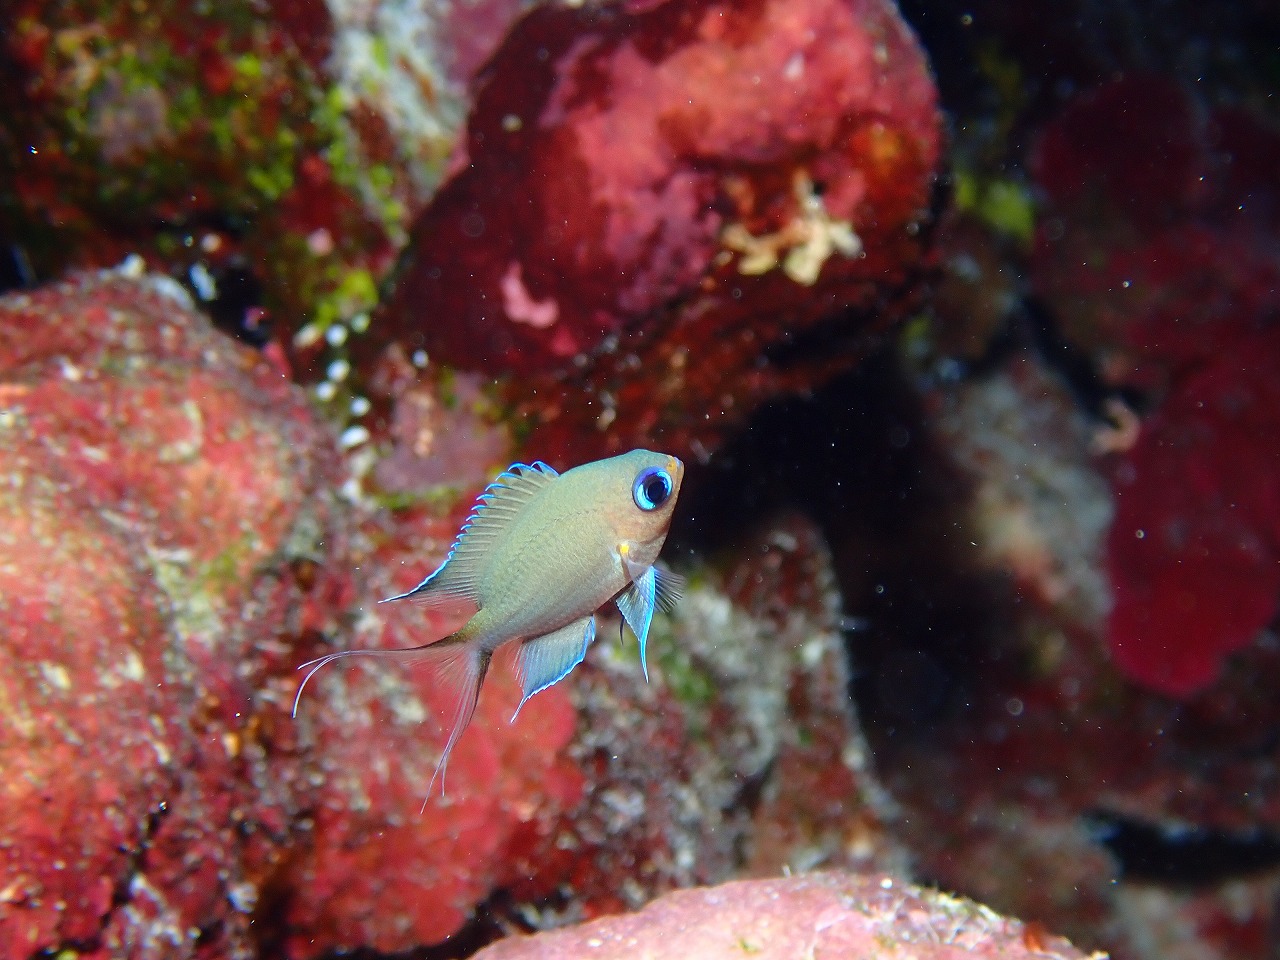
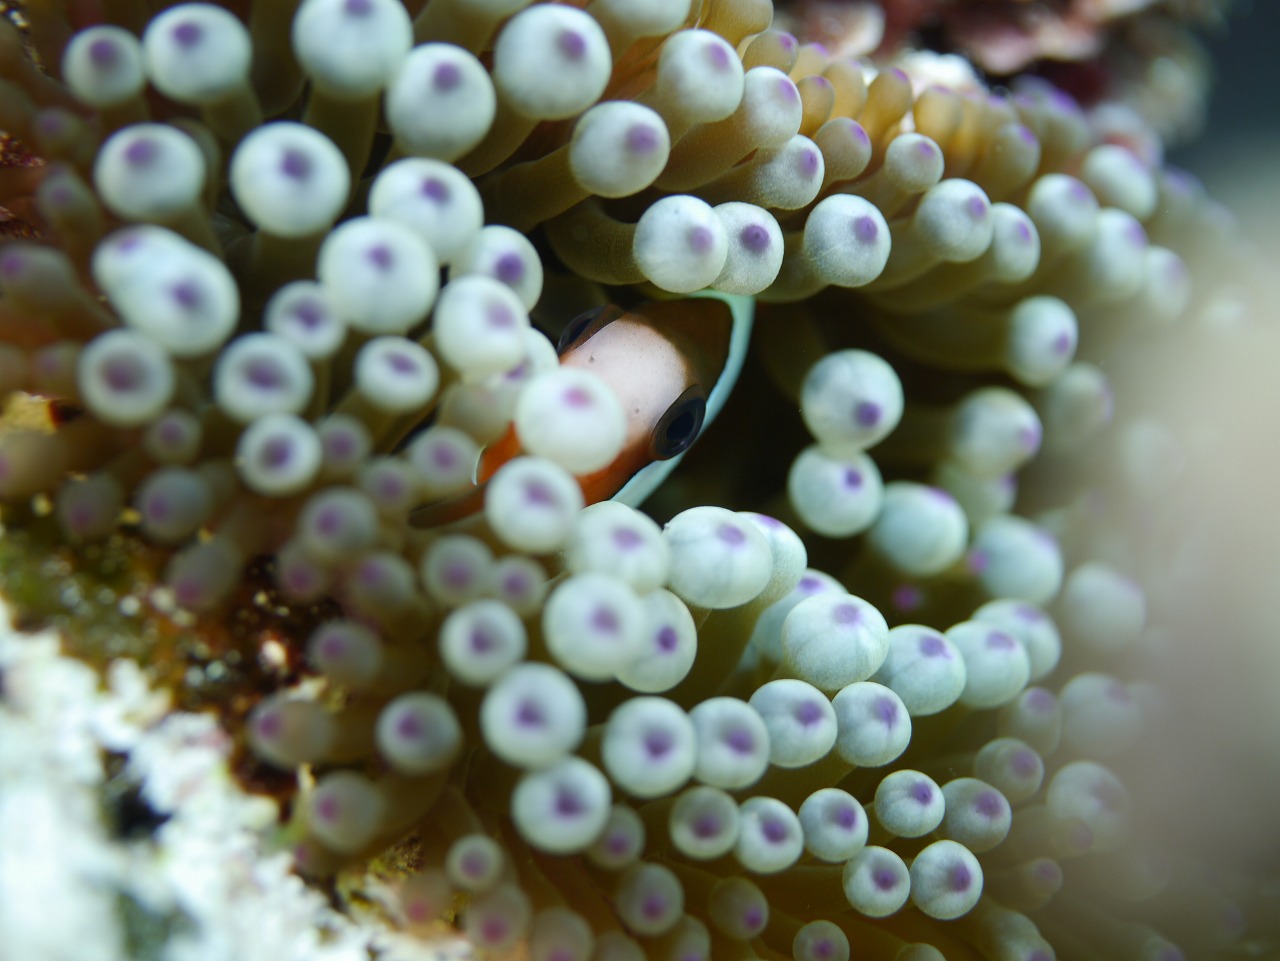
A premier spot for stunning hard coral landscapes. This is a paradise for butterflyfish, damselfish, anemonefish, angelfish, and macro life like blennies and gobies. Highly recommended for fish watchers and underwater photographers. You can enjoy everything from shallow corals at 3m to sandy bottoms at 25m.
⑥ Ebiana
Difficulty: ☆☆☆ (Buoyancy control required)
Type: Coral / Tunnel / Drift
Max Depth: 28m
Current: Occasionally moderate
⑦ Pona Point
Difficulty: ☆☆☆
Type: Topography / Fish
Max Depth: 33m
Current: Can be very strong

⑧ Pearlman Tunnel
Difficulty: ☆☆☆ (Buoyancy control required)
Type: Drop-off / Cave / Macro
Max Depth: 35m
Current: Occasionally moderate
⑨ Seven Screw
Difficulty: ☆☆☆ (Buoyancy control required)
Type: Wreck / Sand
Max Depth: 33m
Current: Can be very strong
⑩ Joanne’s Reef
Difficulty: ☆
Type: Coral / Reef / Macro
Max Depth: 30m
Current: Occasionally moderate

⑪ Table Top I
Difficulty: ☆
Type: Floating sensation / Fish / Coral
Max Depth: 30m
Current: Minimal
⑫ Table Top II
Difficulty: ☆
Type: Reef / Fish / Coral
Max Depth: 25m
Current: Occasionally moderate
⑬ Turtle Cove
Difficulty: ☆☆
Type: Sand / Fish / Coral
Max Depth: 25m
Current: Minimal
⑭ Santa’s Reef
Difficulty: ☆
Type: Sand / Relaxing
Max Depth: 16m
Current: Minimal
⑮ Jerry’s Reef
Difficulty: ☆
Type: Sand / Fish / Coral
Max Depth: 18m
Current: Occasionally moderate
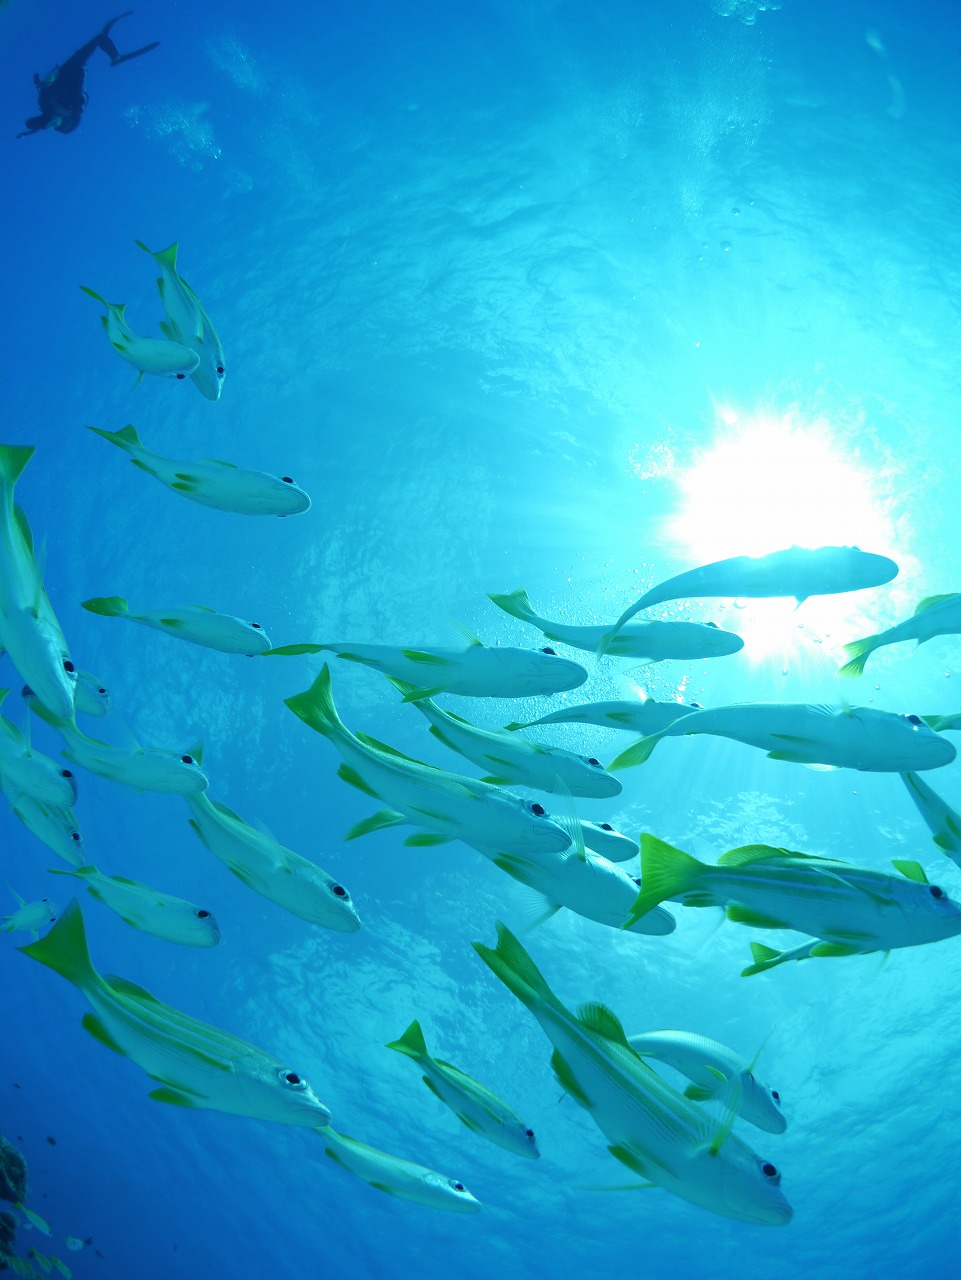
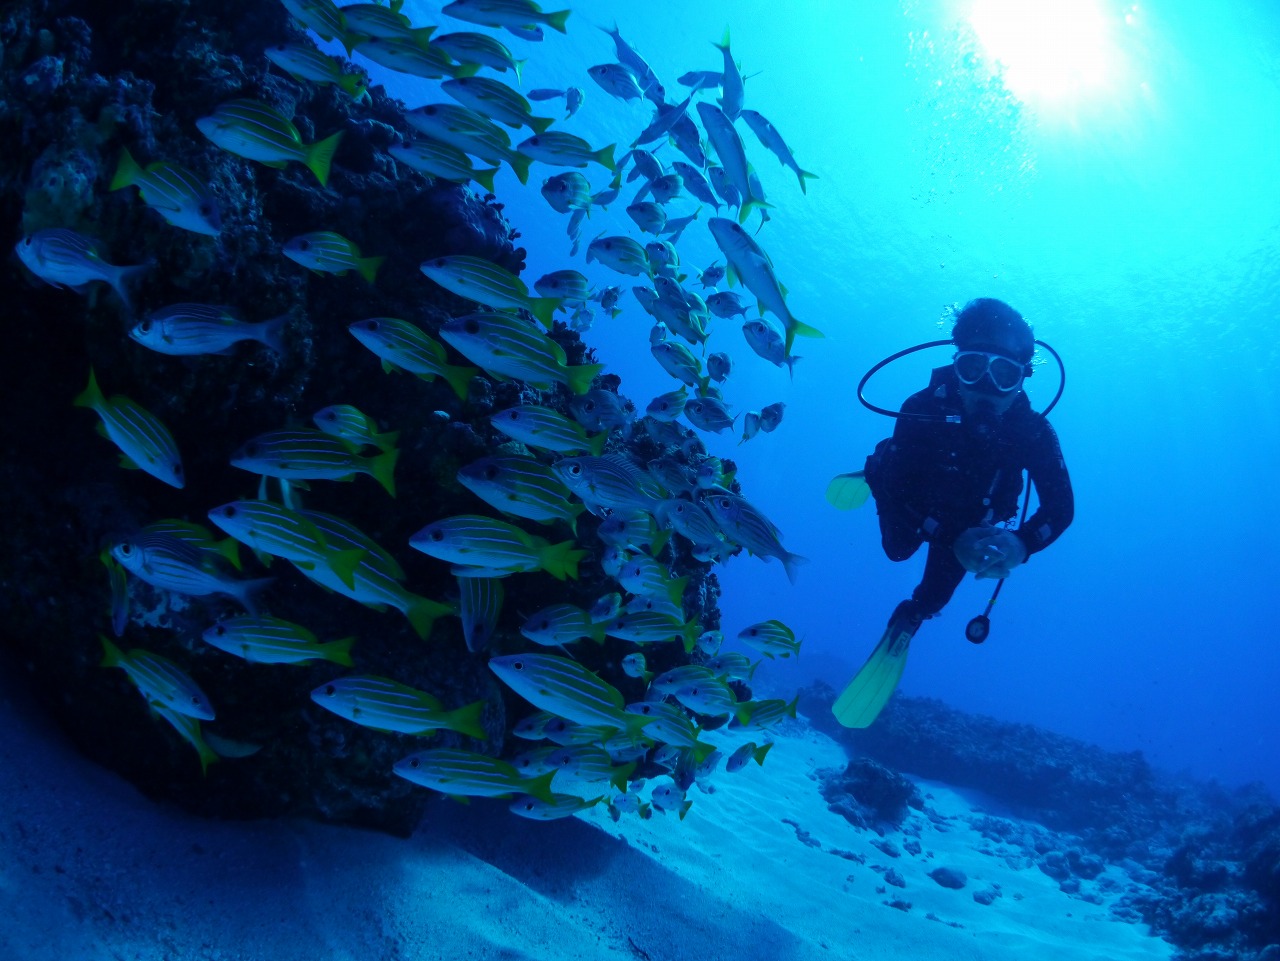
The highlight here is the “colony” of garden eels in the sandy area. The blue gradients of “Rota Blue” are as beautiful as an aurora. In the coral areas, schools of yellowfin goatfish and sea goldies provide a peaceful atmosphere. A must-see spot just 3 minutes by boat.
⑯ Paupau
Difficulty: ☆
Type: Sand / Fish / Coral
Max Depth: 20m
Current: Occasionally moderate
⑰ No. 1
Difficulty: ☆☆☆ (Buoyancy control required)
Type: Drop-off / Drift
Max Depth: 35m
Current: Occasionally moderate/strong
⑱ Harnom Drop-off
Difficulty: ☆☆☆ (Buoyancy control required)
Type: Drop-off / Drift
Max Depth: 40m
Current: Can be very strong
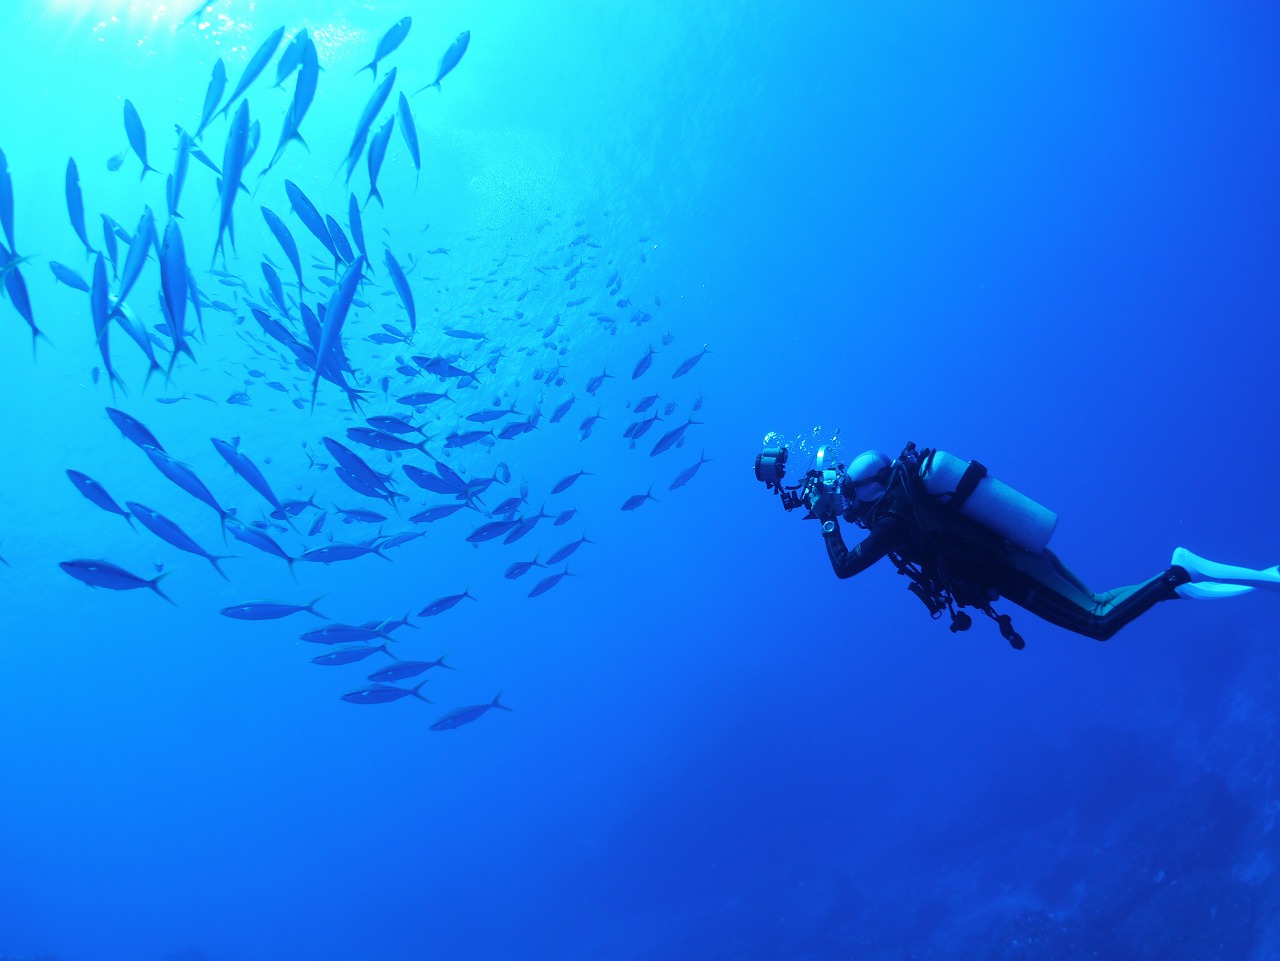
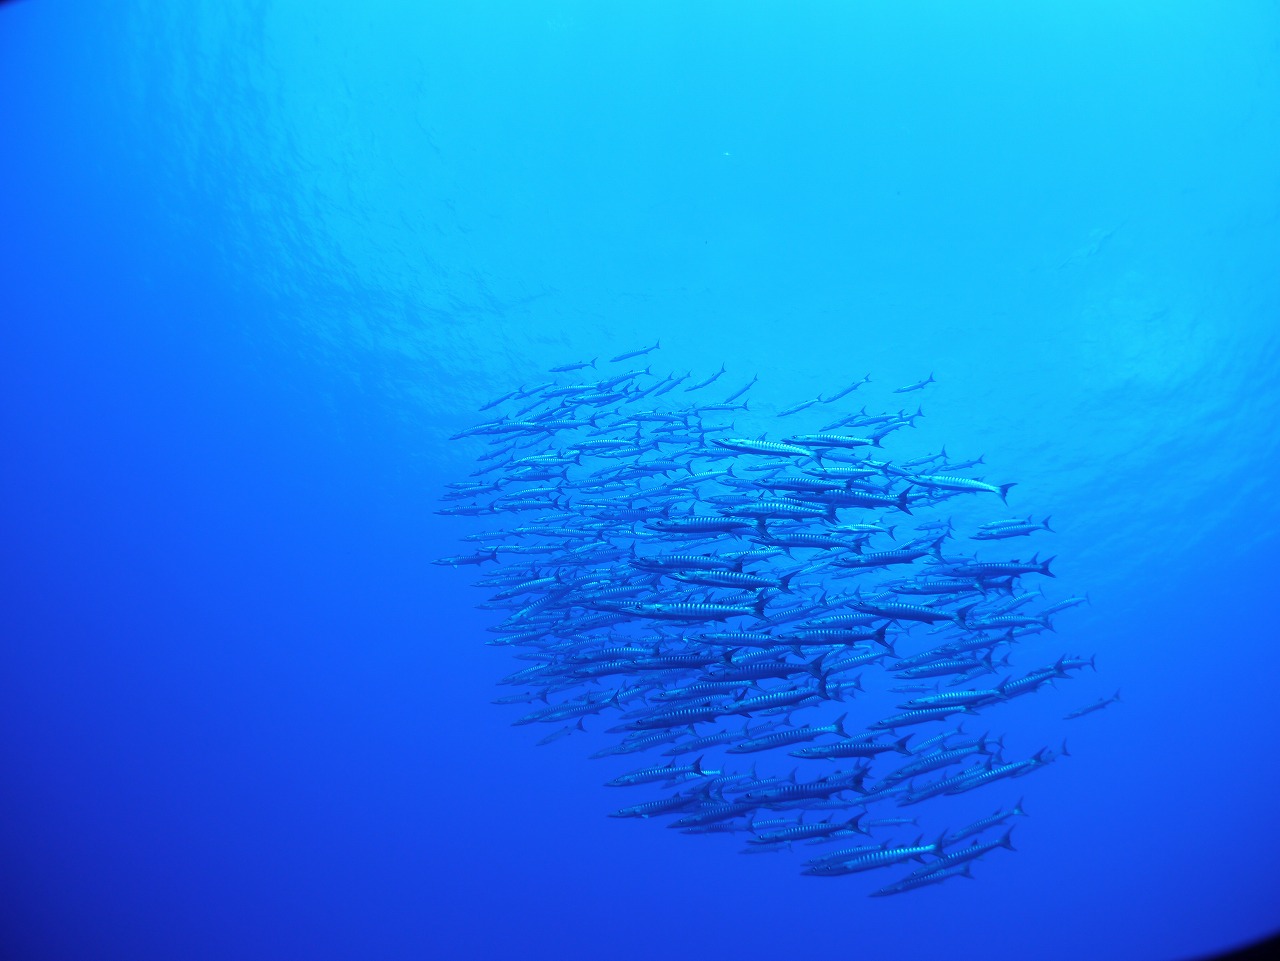
While the overhanging drop-off is breathtaking on its own, this site is the best for big game: schools of bigeye trevally, rainbow runners, barracuda, tuna, and giant Napoleon wrasse. If you’re lucky, you might even encounter dolphins underwater. Due to the meeting of currents from the Philippine Sea and the Pacific, conditions can be complex and require good weather to access.
★ West Area
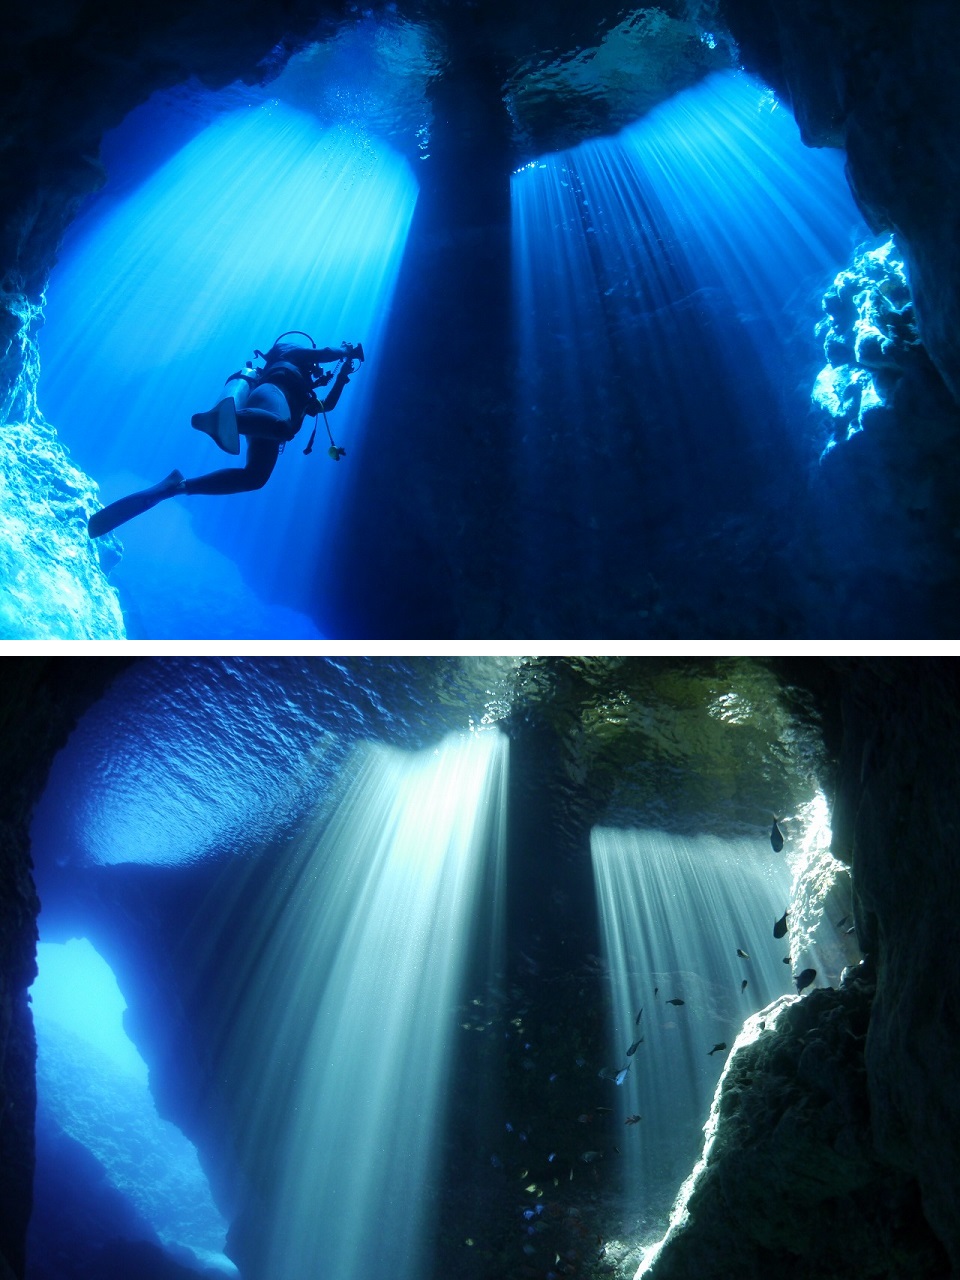
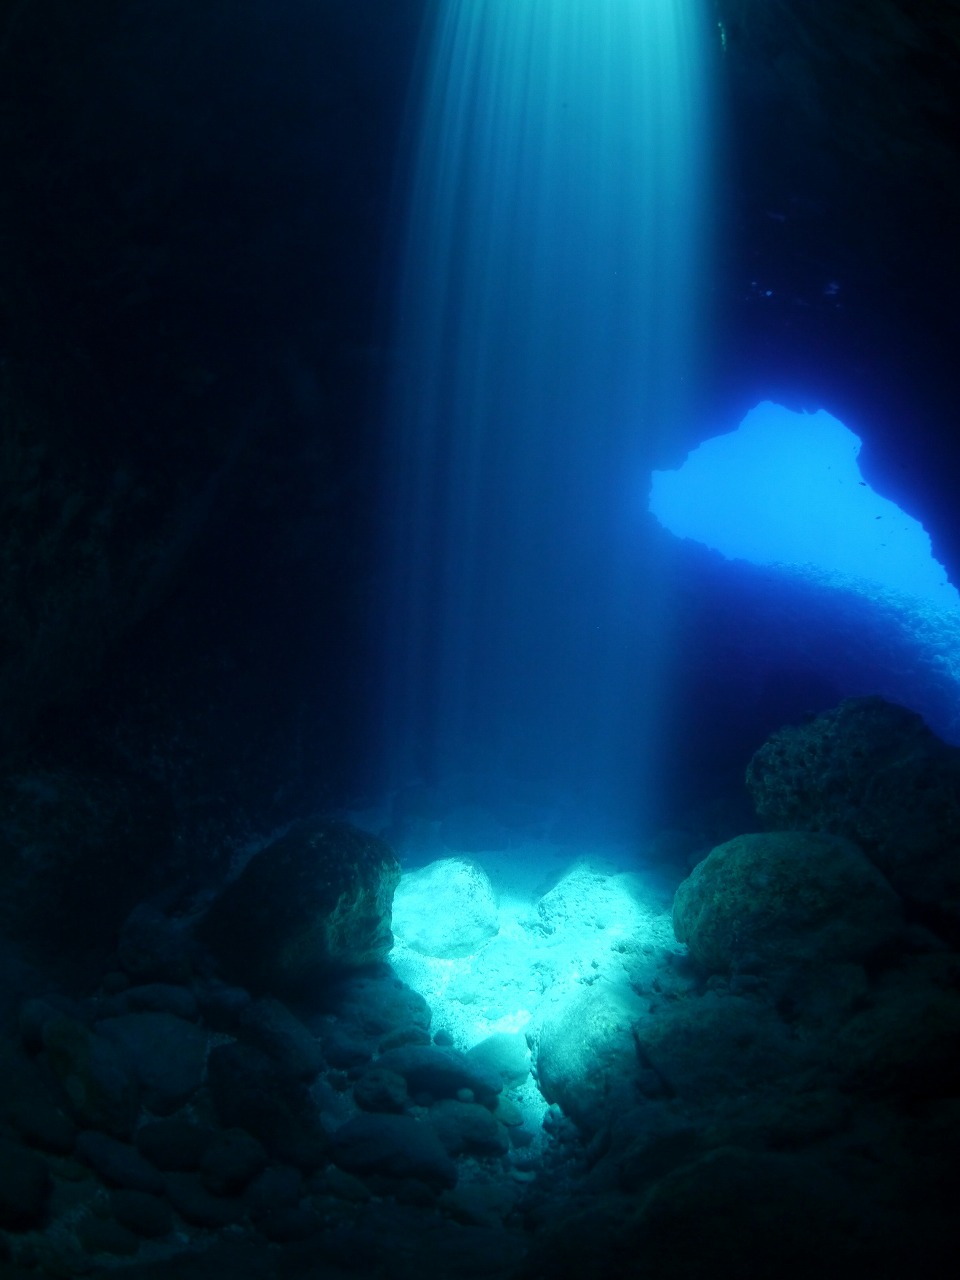
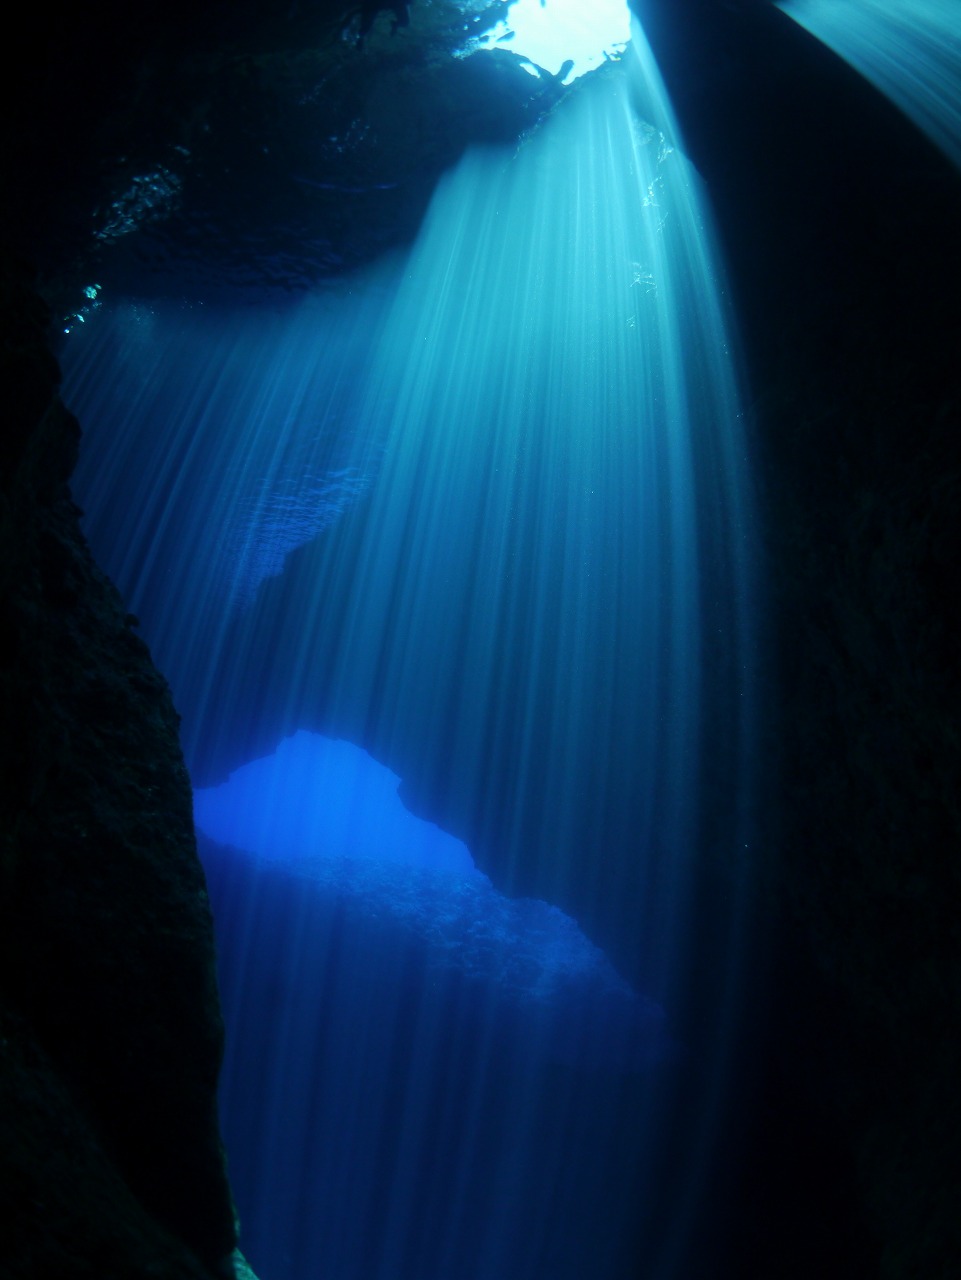
① Rota Hole
Difficulty: ☆☆ (Buoyancy control required)
Type: Cave
Max Depth: 18m
Current: Moderate currents possible outside the hole
Rota’s No. 1 dive site! (Best season: March to September).
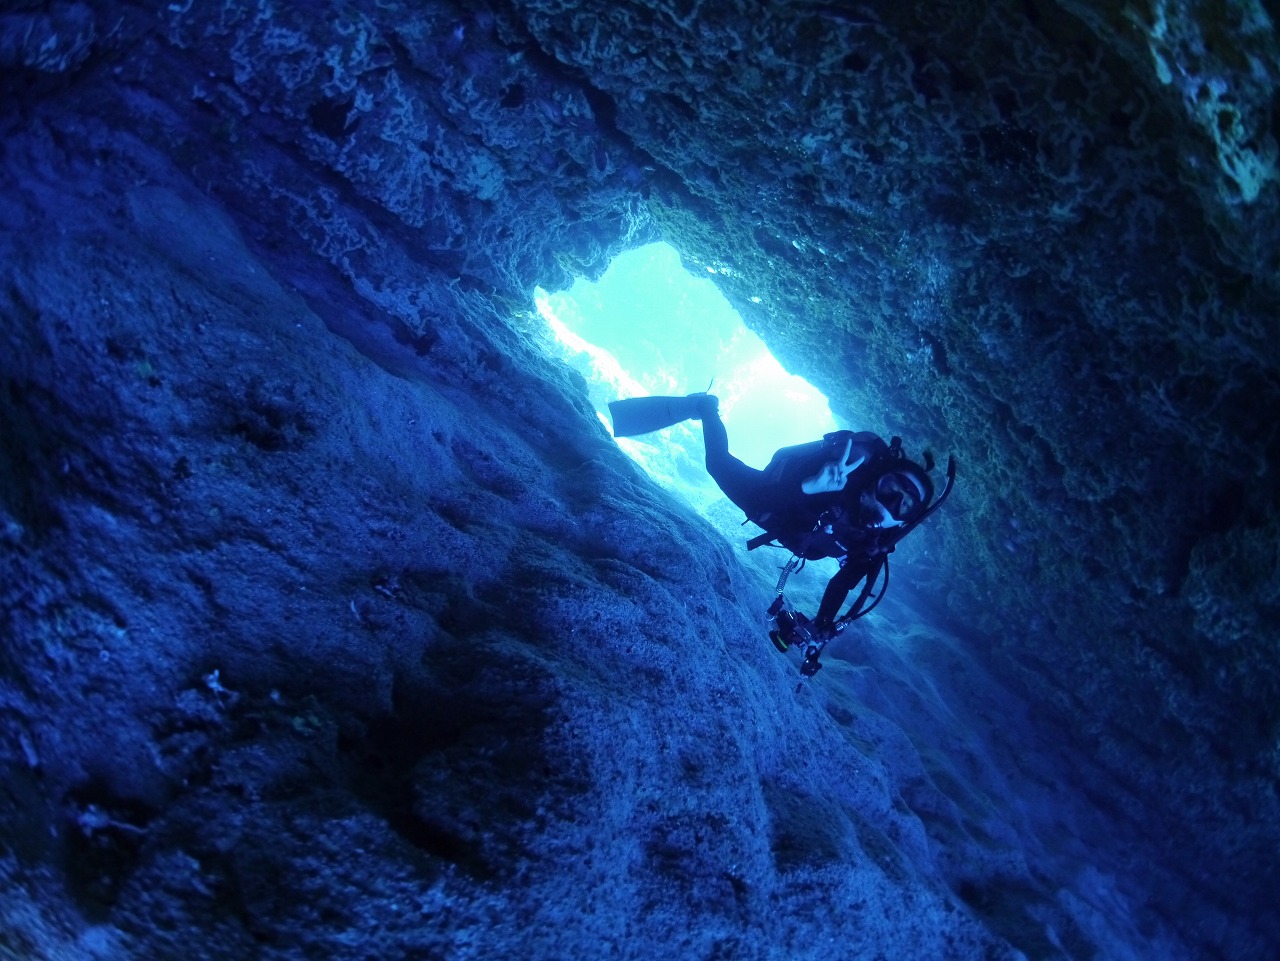
The mystical pillars of light descending from above change constantly, sometimes appearing like a curtain or radiating beams. Inside the cave, you’ll find soldierfish and sweepers. Outside, many Micronesian endemic species reside, and you might even spot large species like Napoleon wrasse.
② Senhanom Drop-off I
Difficulty: ☆☆ (Buoyancy control required)
Type: Drop-off / Drift / Fish
Max Depth: 35m
Current: Occasionally moderate/strong
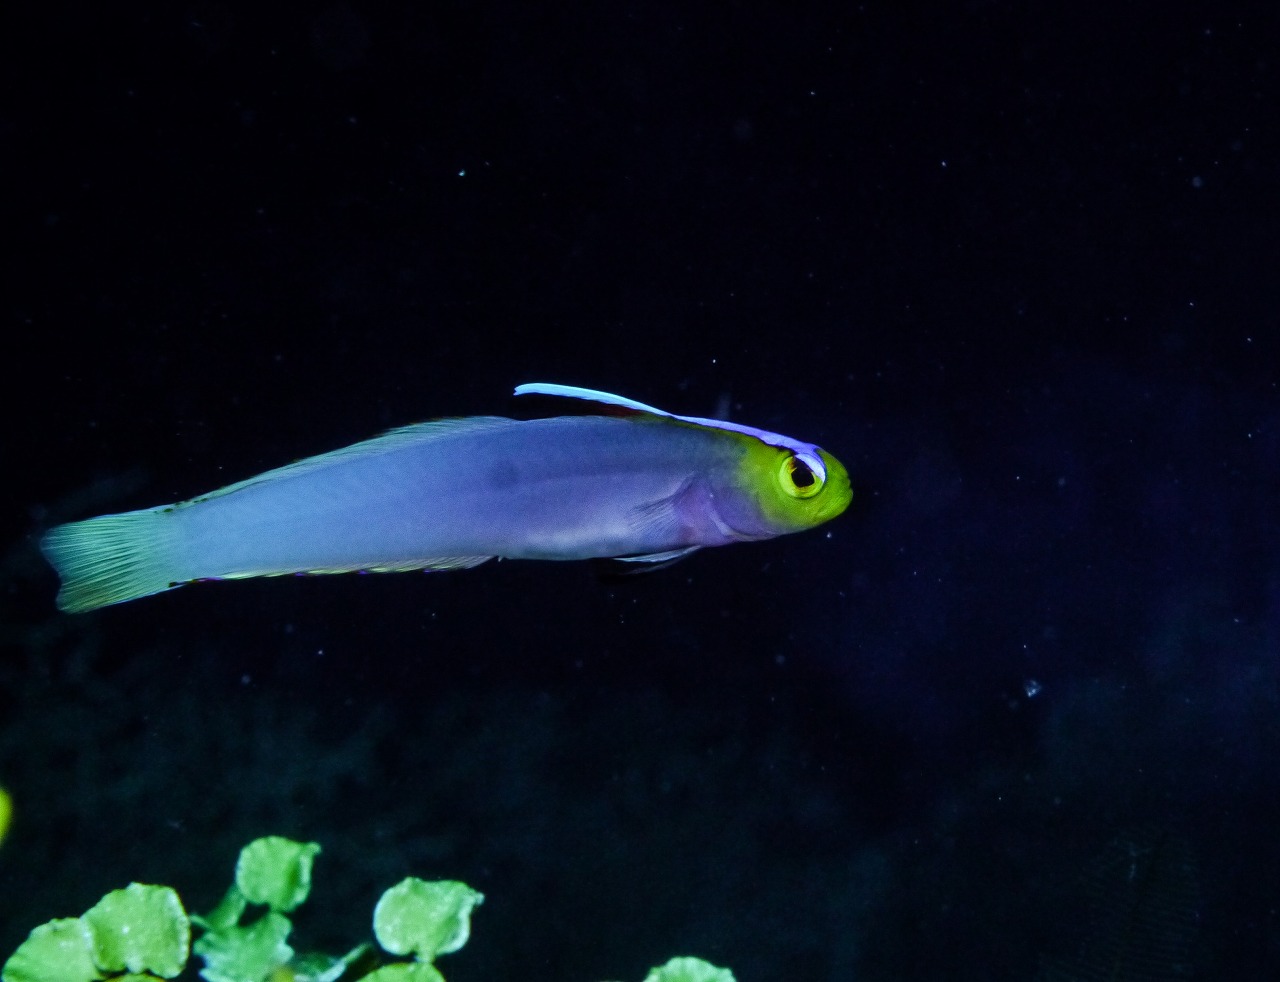
A dramatic drop-off plunging from a 12m reef to over 50m. On the reef, look for popular species like leopard blennies and golden angelfish. Along the wall, you’ll see pyramid butterflyfish and sea goldies. The Helfrich’s dartfish living deep in the overhangs at 35m is a major highlight.
③ Senhanom Drop-off II
Difficulty: ☆☆
Type: Drop-off / Drift / Floating sensation
Max Depth: 35m
Current: Occasionally moderate/strong
④ Atlantis
Difficulty: ☆☆☆
Type: Deep / Reef / Fish
Max Depth: 35m
Current: Occasionally strong
⑤ Pinatang Reef
Difficulty: ☆
Type: Topography / Short Cave / Macro
Max Depth: 16m+
Current: Minimal
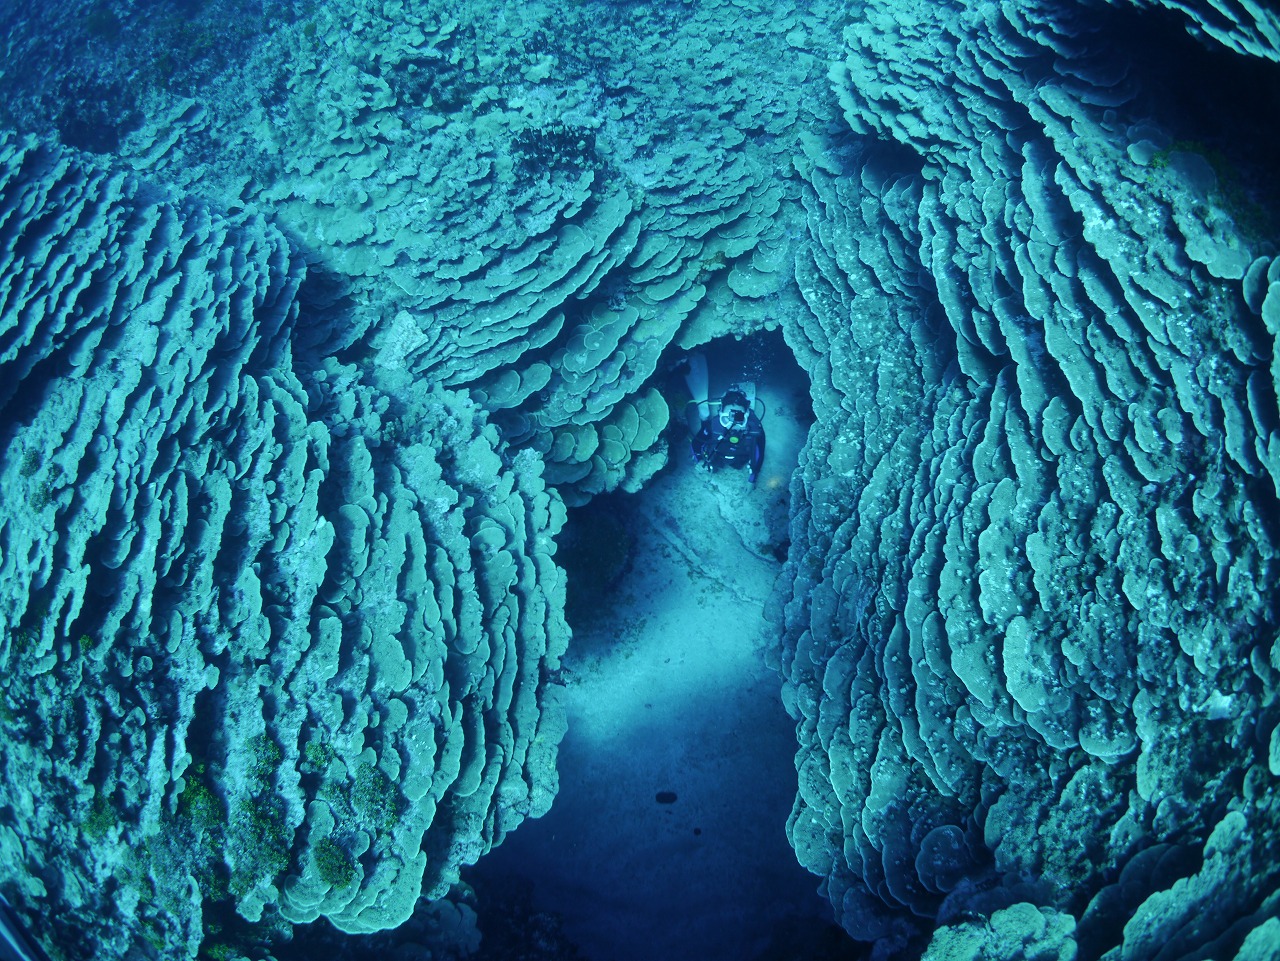
Features fascinating terrain ranging from vertical cave cracks to maze-like passages. Passing through a mini-cave leads to a different world of coral gardens and anemone colonies. A great spot for relaxing on fine white sand or taking group photos.
⑥ Sailigai Point
Difficulty: ☆
Type: Reef / Fish
Max Depth: 22m
Current: Occasional
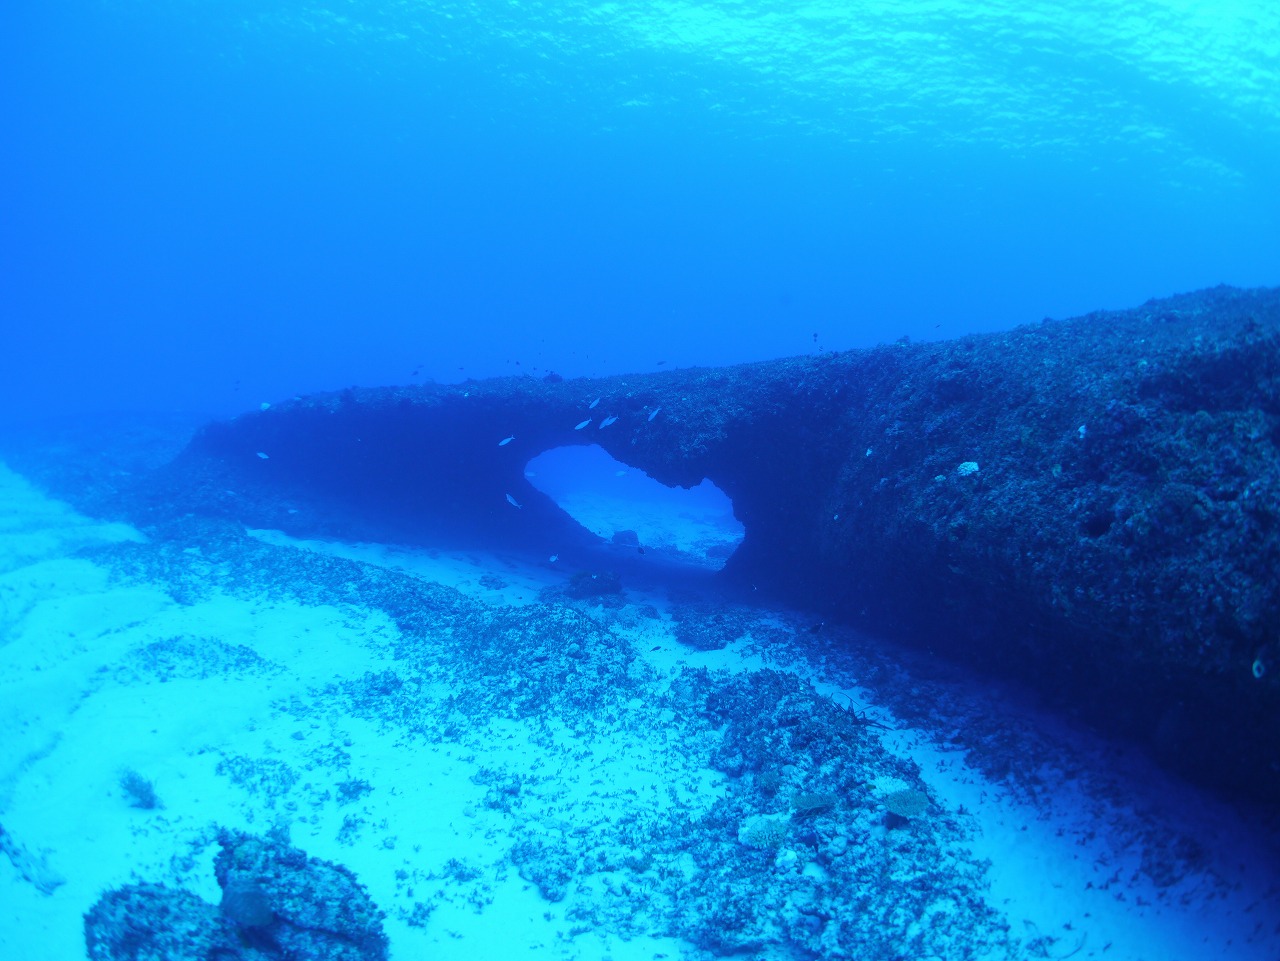
⑦ Sailigai Tunnel & Arch
Difficulty: ☆☆
Type: Arch / Cave
Max Depth: 25m
Current: Occasional
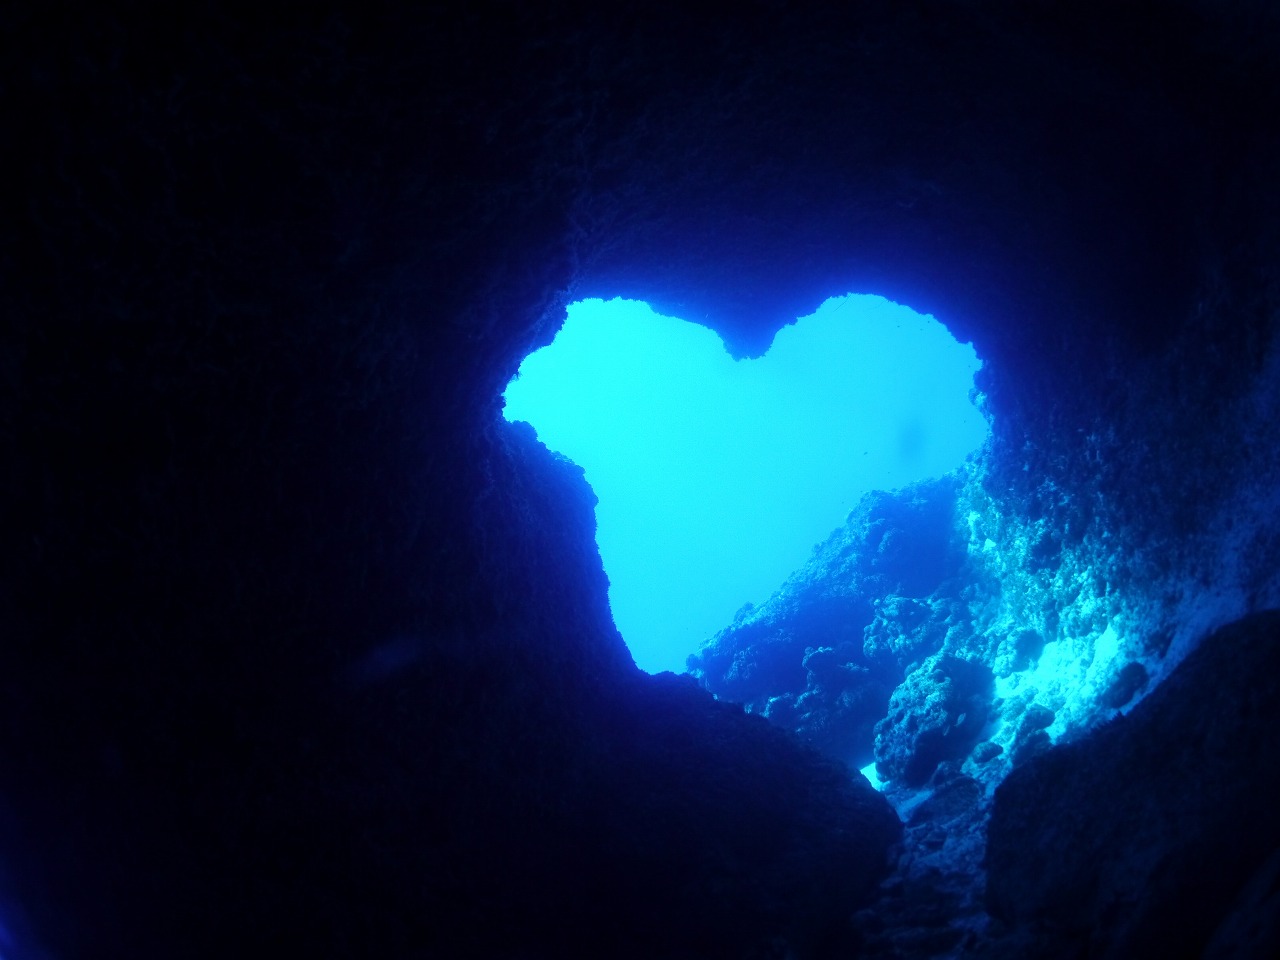
⑧ Broken Heart
Difficulty: ☆☆☆
Type: Cave
Max Depth: 30m
Current: Persistent / Can be strong
⑨ Hobbit House
Difficulty: ☆☆☆
Type: Reef / Fish / Topography (Arch & Channel)
Max Depth: 20–30m
Current: Occasionally strong
Annual Calendar
| Jan | Feb | Mar | Apr | May | Jun | |
| Temp (High/Low) | 27/24°C | 28/24°C | 29/25°C | 30/26°C | 31/26°C | 32/26°C |
| Rainfall | ← Occasional brief squalls; moderate humidity → | |||||
| Water Temp | 28°C | 28°C | 28°C | 28–29°C | 28–29°C | 29–30°C |
| Wetsuit | ← 5mm recommended if sensitive to cold (wind on the boat can be chilly) → | ← 3mm is fine; rash guard recommended if sensitive to cold → | ||||
| Marine Life | ← Many juvenile damselfish and angelfish species → | |||||
| ← Unexpected big game encounters possible → | ← Occasional barracuda and rainbow runners → | |||||
| Rota Hole | ← Beautiful light at entrance → | ← Light beams from mid-Feb to late Oct. Best from early March to early Oct; peak intensity April to Sept → | ||||
| Jul | Aug | Sep | Oct | Nov | Dec | |
| Temp (High/Low) | 32/26°C | 33/26°C | 32/26°C | 30/26°C | 30/25°C | 29/25°C |
| Rainfall | ← Brief squalls but rarely rains all day. High chance of rainbows over the sea → | |||||
| Water Temp | 30°C | 30°C | 29–30°C | 28–29°C | 28–29°C | 28°C |
| Wetsuit | ← 3mm is fine; rash guard recommended if sensitive to cold → | 3mm or 5mm | ← 5mm recommended if sensitive to cold → | |||
| Marine Life | ← Sprat around Rota Hole → | ← Possible chance of massive trevally schools → | ||||
| ← Occasional barracuda and rainbow runners → | ||||||
| Rota Hole | ← Peak season for light beams through Oct. Best intensity April to Sept → | ← Visibility peaks; beautiful light at the entrance → | ||||
ロタ島ブルーパームスのダイブサイト
ロタ島のダイビングポイントは東港側と西港側からのポイント、両方から成り立っており、
お客様のリクエストや海況などを見て当日潜るポイントを決定しています。
ロタ島を代表するポイント「ロタホール」以外にも、巨大沈船あり、どこまでも広がる水中砂漠あり、
ダイナミックなドロップオフあり、サンゴの上でのんびりフィッシュウォッチングありetc
ひとつの島でさまざまなダイビングを楽しむことができます。
★東エリア
①松運丸~Shounmaru~
難易度:☆☆
タイプ:沈船
最大水深:33m
流れ:時にかなり強い
1944年に沈んだとされる全長100m以上の日本軍の巨大貨物船。
1年を通して潜ることのできるポイントですが、大潮時は潮の流れが強くなる時があるので、要注意。
全体的にディープダイビング、残圧をこまめにチェック。
②ファイヤーワークス~Fireworks~
難易度:☆
タイプ:砂地・サンゴ・根・魚
最大水深:20m
流れ:時にやや強い時がある
③りん鉱ポイント~Cable run~
難易度:☆☆
タイプ:砂地・サンゴ・マクロ
最大水深:20m
流れ:ほぼ影響なし
④サブチェイサー ~Sub chaser ~
難易度:☆
タイプ:沈船・魚・マクロ
最大水深:28m
流れ:ほぼ影響なし
⑤コーラルガーデン ~Coral garden~
難易度:☆
タイプ:サンゴ・魚・マクロ
最大水深:25m
流れ:時にやや強い
ハードコーラルの景観が随一のポイント。チョウチョウウオやスズメダイの群れ、クマノミにエンジェルフィッシュ、カエルウオやハゼなどのマクロ生物の楽園。フィッシュウオッチング好きなダイバーやフォト派にオススメ。
浅場のサンゴエリア水深3mから砂地エリア水深25mまで幅広く楽しむことができる。
⑥エビ穴 ~Ebiana~
難易度:☆☆☆ (中性浮力必須)
タイプ:サンゴ・トンネル・ドリフト
最大水深:28m
流れ:時にやや強い
⑦ポーニャポイント~Pona point~
難易度:☆☆☆
タイプ:地形・魚
最大水深:33m
流れ:時にかなり強い
⑧パールマントンネル~Pearlman tunnel~
難易度:☆☆☆ (中性浮力必須)
タイプ:ドロップオフ・洞窟・マクロ
最大水深:35m
流れ:時にやや強い
⑨セブンスクリュー ~Seven screw~
難易度:☆☆☆ (中性浮力必須)
タイプ:沈船・砂地
最大水深:33m
流れ:時にかなり強い
⑩ジョアンズリーフ~Joanne’s reef~
難易度:☆
タイプ:サンゴ・根・マクロ
最大水深:30m
流れ:時にやや強い
⑪テーブルトップⅠ~Table top1~
難易度:☆
タイプ:浮遊感・魚・サンゴ
最大水深:30m
流れ:ほぼ影響なし
⑫テーブルトップⅡ~Table topⅡ~
難易度:☆
タイプ:根・魚・サンゴ
最大水深:25m
流れ:時にやや強い
⑬タートルコーブ~Turtle cove~
難易度:☆☆
タイプ:砂地・魚・サンゴ
最大水深:25m
流れ:ほぼなし
⑭サンタズリーフ~Santa’s reef~
難易度:☆
タイプ:砂地・癒し
最大水深:16m
流れ:ほぼなし
⑮ジェリーズリーフ~Jerry’s reef~
難易度:☆
タイプ:砂地・魚・サンゴ
最大水深:18m
流れ:時にややあり
砂地エリアにいるチンアナゴの集合住宅が最大の見どころ。
ロタブルーが映し出す青のグラデーションがまるでオーロラのようにとっても綺麗です。
サンゴのエリアにはアカヒメジやハナゴイなどが群れを成し、癒しを与えてくれます。ボートで3分の場所でこの絶景が見られるのはかなりお勧めです。
⑯パウパウ~Paupau~
難易度:☆
タイプ:砂地・魚・サンゴ
最大水深:20m
流れ:時にややあり
⑰ナンバー1~No.1~
難易度:☆☆☆ (中性浮力必須)
タイプ:ドロップオフ・ドリフト
最大水深:35m
流れ:時にやや強い
⑱ハルノンドロップオフ ~Harnom drop off~
難易度:☆☆☆(中性浮力必須)
タイプ:ドロップオフ・ドリフト
最大水深:40m
流れ:時折かなり強い日がある
オーバーハングのドロップオフはそれだけでも圧巻ですが、ギンガメアジの大群のほか、時折ツムブリやバラクーダの群れ、マグロや巨大ナポレオンなども現れ、ロタ島の中で1番大物率の高いポイント。運がよければ水中でイルカに遭遇するときも。フィリピン海と太平洋の海流がぶつかるため流れが複雑になることもあり、海況が良い時でないと行けないポイント。
★西エリア
①ロタホール ~Rota hole~
難易度:☆☆ (中性浮力必須)
タイプ:洞窟
最大水深:18m
流れ:ホール外はやや強い日がある
ロタNo.1ポイント!(ベストシーズンは3月~9月頃)
天から降り注ぐ神秘的な光の柱は、時間とともに変化していき、時にはカーテンのように広がって見えたり、放射線のように見えたりと様々な表情を楽しめます。洞窟の奥には、アカマツカサやリュウキュウハタンポなどが生息。洞窟の外にはミクロネシアの固有種の小物が多く、運がよければナポレオン等の大物にも遭遇することも。
②センハノン ドロップオフ1~Senhanom drop off Ⅰ~
難易度:☆☆ (中性浮力必須)
タイプ:ドロップオフ・ドリフト・魚
最大水深:35m
流れ:時にやや強い
水深12mのリーフから水深50m以上落ちる豪快なドロップオフポイント。リーフではモンツキカエルウオやコガネヤッコなど、人気の生物がみられます。ドロップオフ沿いには、カスミチョウチョウウオやハナゴイ、また水深35mのオーバーハング奥に生息するヘルフリッチも魅力です。
③センハノンドロップオフⅡ ~Senhanom drop off Ⅱ~
難易度:☆☆
タイプ:ドロップオフ・ドリフト・浮遊感
最大水深:35m
流れ:時にやや強い
④アトランティス~Atlantis~
難易度:☆☆☆
タイプ:ディープ・根・魚
最大水深:35m
流れ:時々強い日がある
⑤ピナタンリーフ ~Pinatang reef~
難易度:☆
タイプ:地形・ショートケーブ・マクロ
最大水深:16m+
流れ:ほぼない
縦長に割れる洞窟から迷路のような複雑な地形まで、幅広い多彩な地形が面白い。
ミニ洞窟を抜けるとそこには、別世界にいるようなサンゴの園にアネモネのコロニーがある。
キメの細かい白い砂地で一息ついたり、集合写真を撮るのなどリラックスできるおススメなポイント。
⑥サリガイ ポイント ~Sailigai point~
難易度:☆
タイプ:根・魚
最大水深:22m
流れ:たまにある
⑦サリガイ トンネル&アーチ ~Sailigai tunnel & arch~
難易度:☆☆
タイプ:アーチ・洞窟
最大水深:25m
流れ:たまにある
⑧ブロークン ハート~Broken heart~
難易度:☆☆☆
タイプ:洞窟
最大水深:30m
流れ:常にある・時に強いことも
⑨ホビットハウス~Hobbit house~
難易度:☆☆☆
タイプ:根・魚・地形(アーチ・チャネル)
最大水深:20~30m
流れ:時々強い時がある
年間カレンダー
| 1月 | 2月 | 3月 | 4月 | 5月 | 6月 | |
| 気温(最高/最低) | 27/24 | 28/24 | 29/25 | 30/26 | 31/26 | 32/26 |
| 雨量 | ←若干スコールは降りますが、短時間のみ。ほどほどに湿度があります→ | |||||
| 水温 | 28 | 28 | 28 | 28~29 | 28~29 | 29~30 |
| ウェットスーツ | ←寒がりな方は5mmがよいかも(ボート上での風がつめたいので羽織れるものあればなおよい)→ | ←3mmで大丈夫ですが、 寒がりな方はラッシュガードがあるとよいです→ | ||||
| 魚 | ←スズメダイ、ヤッコ系の幼魚が多く見られます→ | |||||
| ←予期せぬ大物との遭遇するかも?→ | ←バラクーダ、ツムブリなどの回遊魚も時折、遭遇→ | |||||
| ロタホール | ←エントランスの光がキレイ→ | ←2月中旬~10月下旬まで光が差し込むが、3月上旬~10月上旬までベスト、 その中でも4月~9月が光が強いシーズン→ | ||||
| 7月 | 8月 | 9月 | 10月 | 11月 | 12月 | |
| 気温(最高/最低) | 32/26 | 33/26 | 32/26 | 30/26 | 30/25 | 29/25 |
| 雨量 | ←若干スコールがありますが、一日中降ることはありません。高確率で海にかかる虹が見られます。→ | |||||
| 水温 | 30 | 30 | 29~30 | 28~29 | 28~29 | 28 |
| ウェットスーツ | ←3mmで大丈夫ですが、寒がりな方はラッシュガードがあるとよいです。→ | 3mmもしくは 5mm | ←寒がりな方は5mmがよいかも→ | |||
| 魚 | ←ロタホール周辺にキビナゴ→ | ←運がよければ巨大アジ玉と遭遇する可能性あり→ | ||||
| ←バラクーダ、ツムブリなどの回遊魚も時折、遭遇→ | ||||||
| ロタホール | ←2月中旬~10月下旬まで光が差し込むが、3月上旬~10月上旬までベスト。その中でも4月~9月が光が強いシーズン→ | ←透明度がさらにあがってきて、エントランスの光がキレイな季節→ | ||||